Installing and Configuring Jenkins on Linux
Jenkins is an open-source automation server used to automate repetitive tasks across software development and IT operations. It's used mostly used in CI and CD, schedule and execute jobs, run scripts and commands, automate builds, perform testing, manage deployments, trigger tasks based on events, and much more.
Jenkins is an application built entirely in Java therefore it requires the Java Runtime Environment (JRE) or Java Development Kit (JDK) to run on systems.
For this project, I'm will manually go through the steps of setting up Jenkins application on my Ubuntu server so all can understand what is happening behind the automation.
- Most Linux distributions don't include Java by default and not all Java versions are compatible with Jenkins.
Ansible can automate the steps I'm about to demonstrate in this project but it's good to understand the basics. I can write a playbook to provision the Linux server, set up the environment, install Jenkins, and configure the required settings needed to start using Jenkins.
Not included in this hands-on but Docker is a very common and perhaps easier method for installing Jenkins applications and setting it up on servers.
Java Installation
On Debian/Ubuntu, it is strongly recommended to install Java before Jenkins to avoid the jenkins: failed to find a valid Java installation error. Running this command will:
Update the Application package tool (apt) repositories on my Linux server,
Install OpenJDK 21 and lastly confirms the Java version.
sudo apt update
sudo apt install fontconfig openjdk-21-jre
java -version
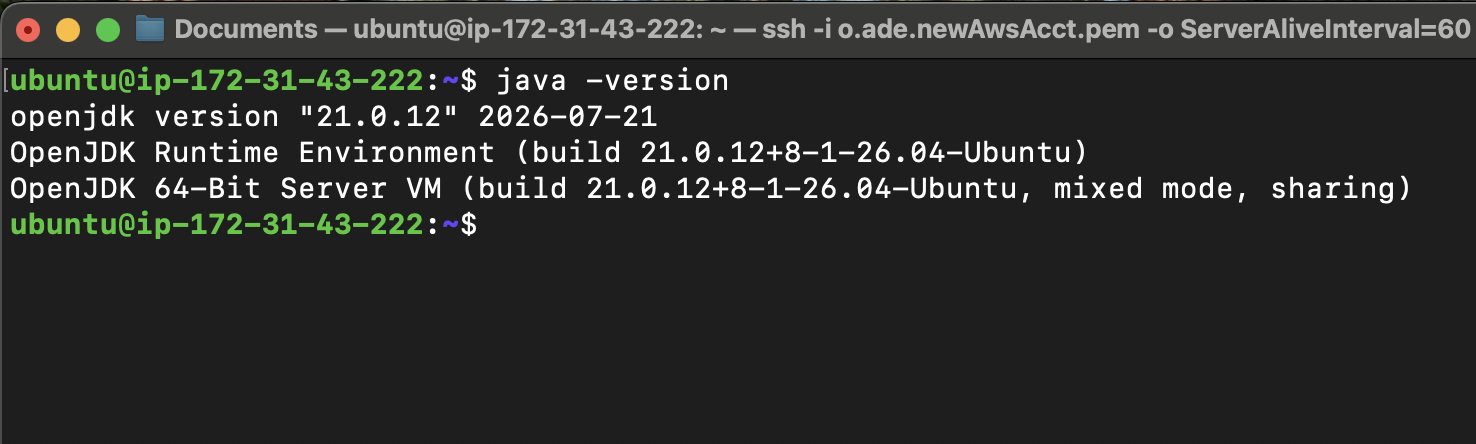
Once this is completed, I can now install Jenkins.
Configure Signing Key and Install Jenkins
Before downloading Jenkins via Apt, it needs to verify that the packages actually came from Jenkins and haven't been tampered with. The signing key allows the package manager to verify the Jenkins repository before installing the package.
In simple terms, by running these commands I'm telling my Ubuntu machine: Download Jenkins security key → Add Jenkins repository to the application package tool (APT) → Update APT → APT learns about Jenkins packages → Install Jenkins → Jenkins installed.
sudo wget -O /etc/apt/keyrings/jenkins-keyring.asc \
  https://pkg.jenkins.io/debian-stable/jenkins.io-2026.key

echo deb [signed-by=/etc/apt/keyrings/jenkins-keyring.asc] \
  https://pkg.jenkins.io/debian-stable binary/ | \
  sudo tee /etc/apt/sources.list.d/jenkins.list > /dev/null

sudo apt update
sudo apt install jenkins
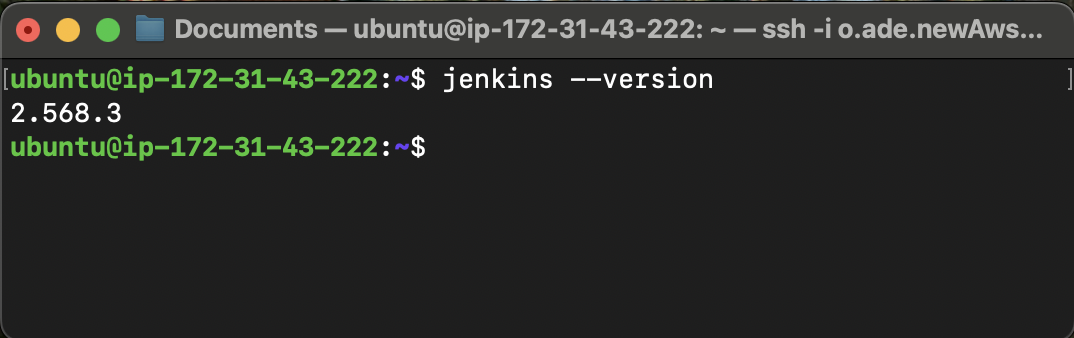
Finally Jenkins application is installed on the server:
Start Jenkins
Now I'll start Jenkins and ensure I can reach the application. To do this, I must enable the Jenkins service to automatically start whenever the server boots.
Enable → sudo systemctl enable jenkins
Start the Jenkins service → sudo systemctl start jenkins
Check status → sudo systemctl status jenkins
- This confirms if Jenkins is running.
If everything has been set up correctly:
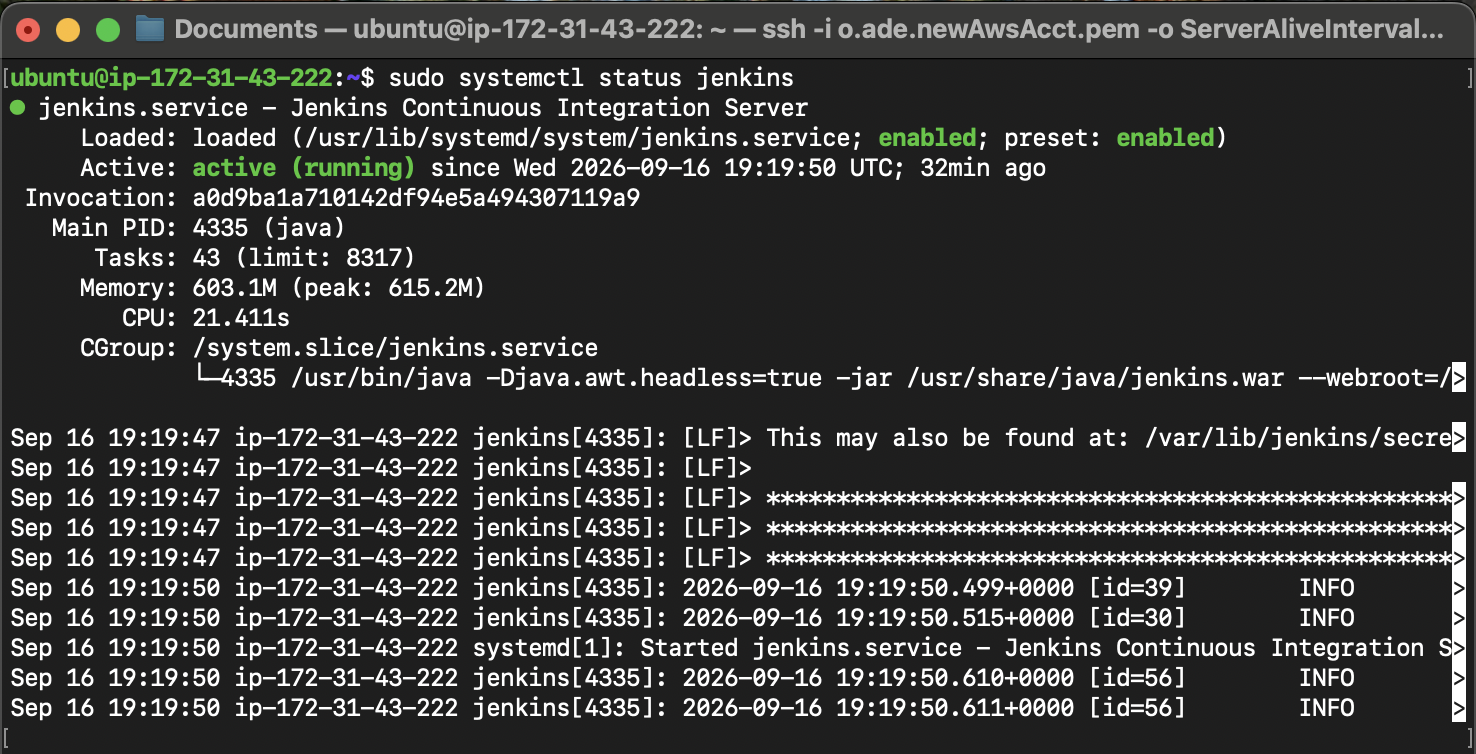
All good.
Post-installation Setup
Jenkins runs its web application on port 8080 by default. Since I was running Jenkins on an Ubuntu server, I needed the server's public IPv4 address.
I could retrieve the public IP address using curl -4 ifconfig.me This gives me the public IPv4 address of my Ubuntu server.

Troubleshooting - Jenkins Page Not Loading
One common issue during this type of setup is that the Jenkins service can be running correctly while the web interface is still inaccessible.
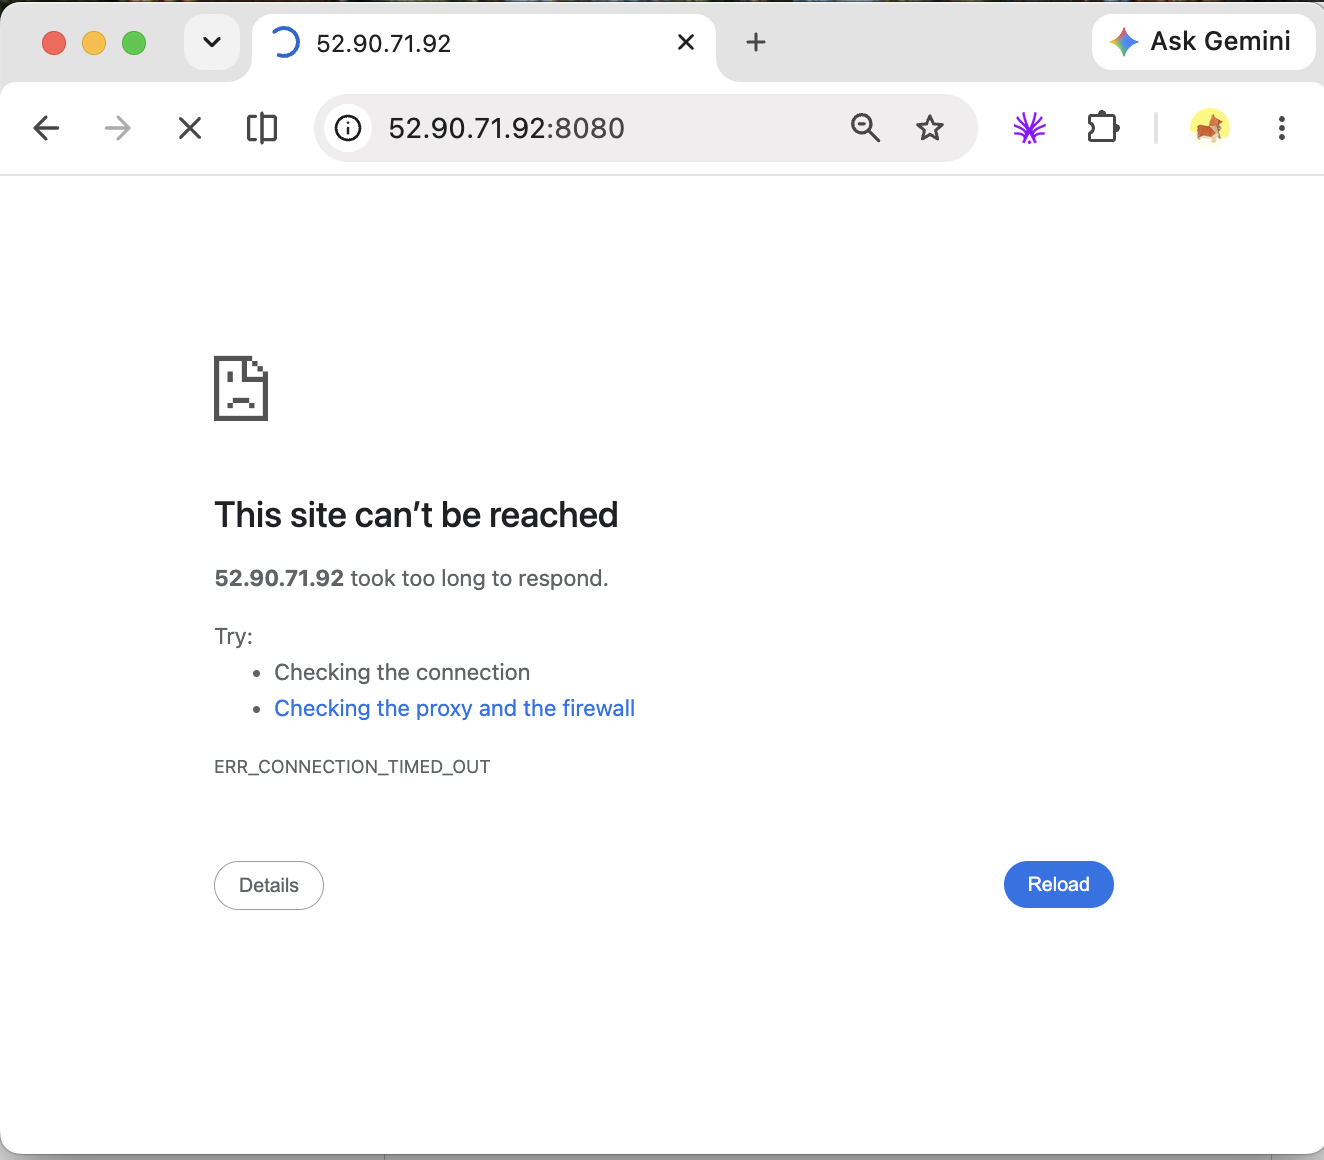
Solution: Your firewall and security group for the linux server needs to be configured to allow inbound protocol traffic.
In my Linux network security settings on AWS, only port-22 ssh traffic was allowed so I simply updated the security group to allow Custom TCP on port 8080.
If you're stuck on firewall error, refer to this 👉 page
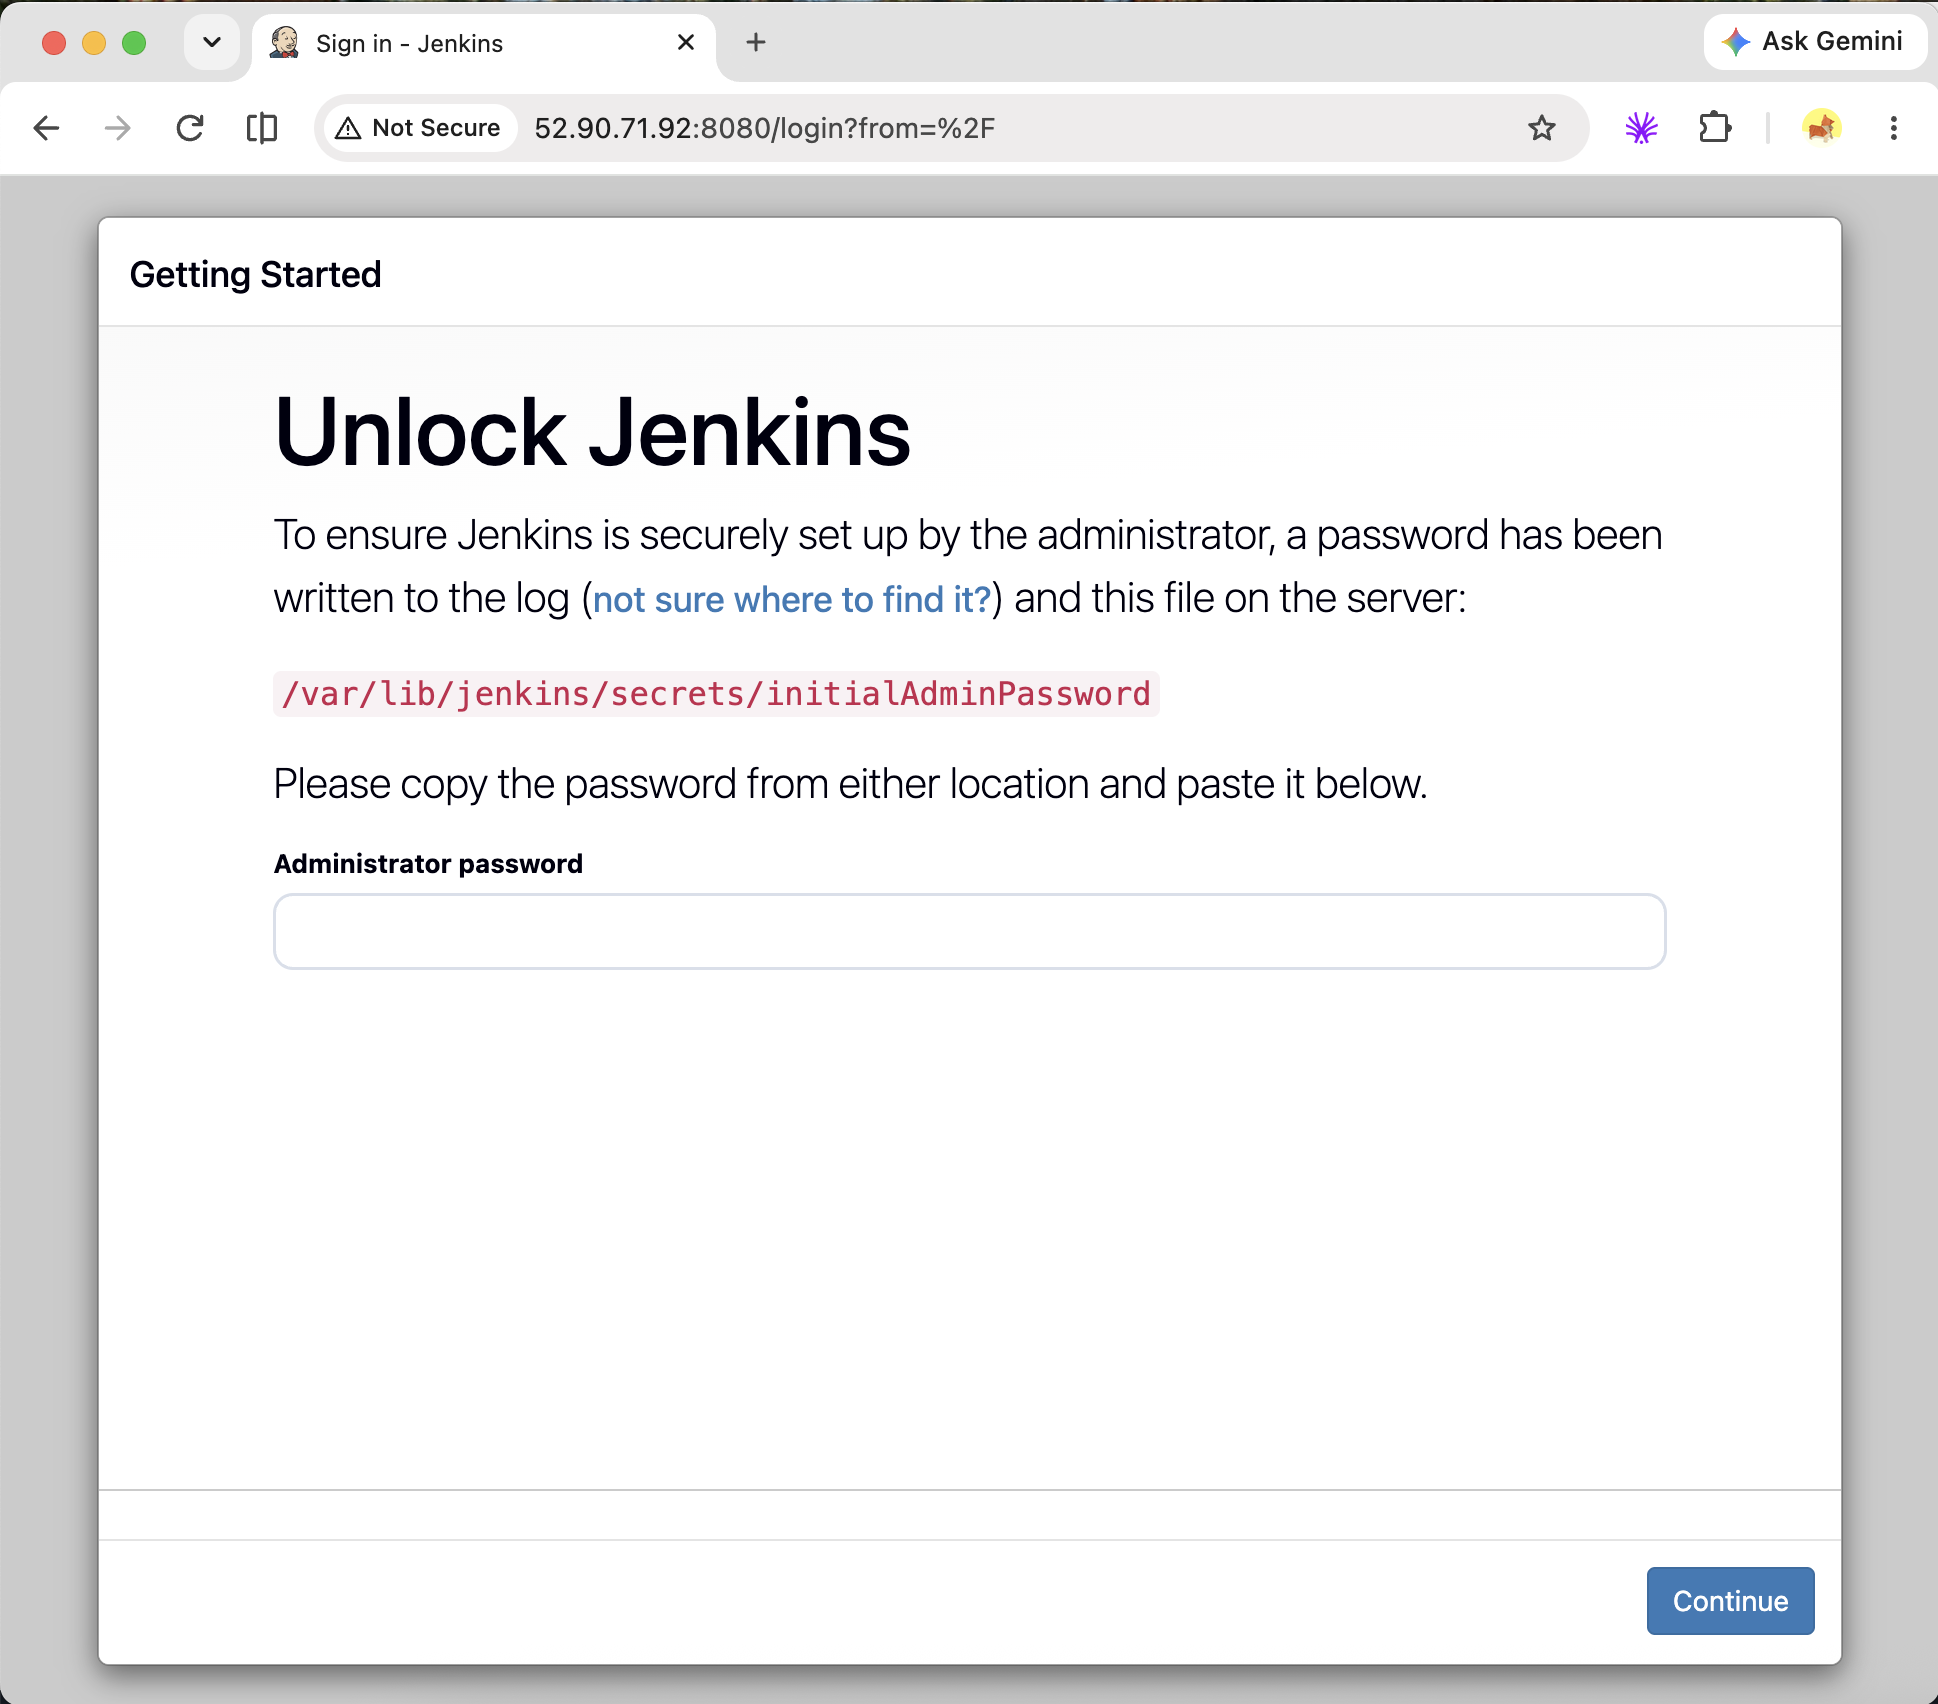
The application now loads fine but we'll need to use the password stored in this location of the linux server /var/lib/jenkins/secrets/.. in order to log into the Jenkins application. The password is retrieved retrieved it by running this command sudo cat /var/lib/jenkins/secrets/initialAdminPassword .

This password grants access to the Jenkins application homepage where we'll be prompted to setup Jenkins with Admin User profile, new password and install the suggested plugins.
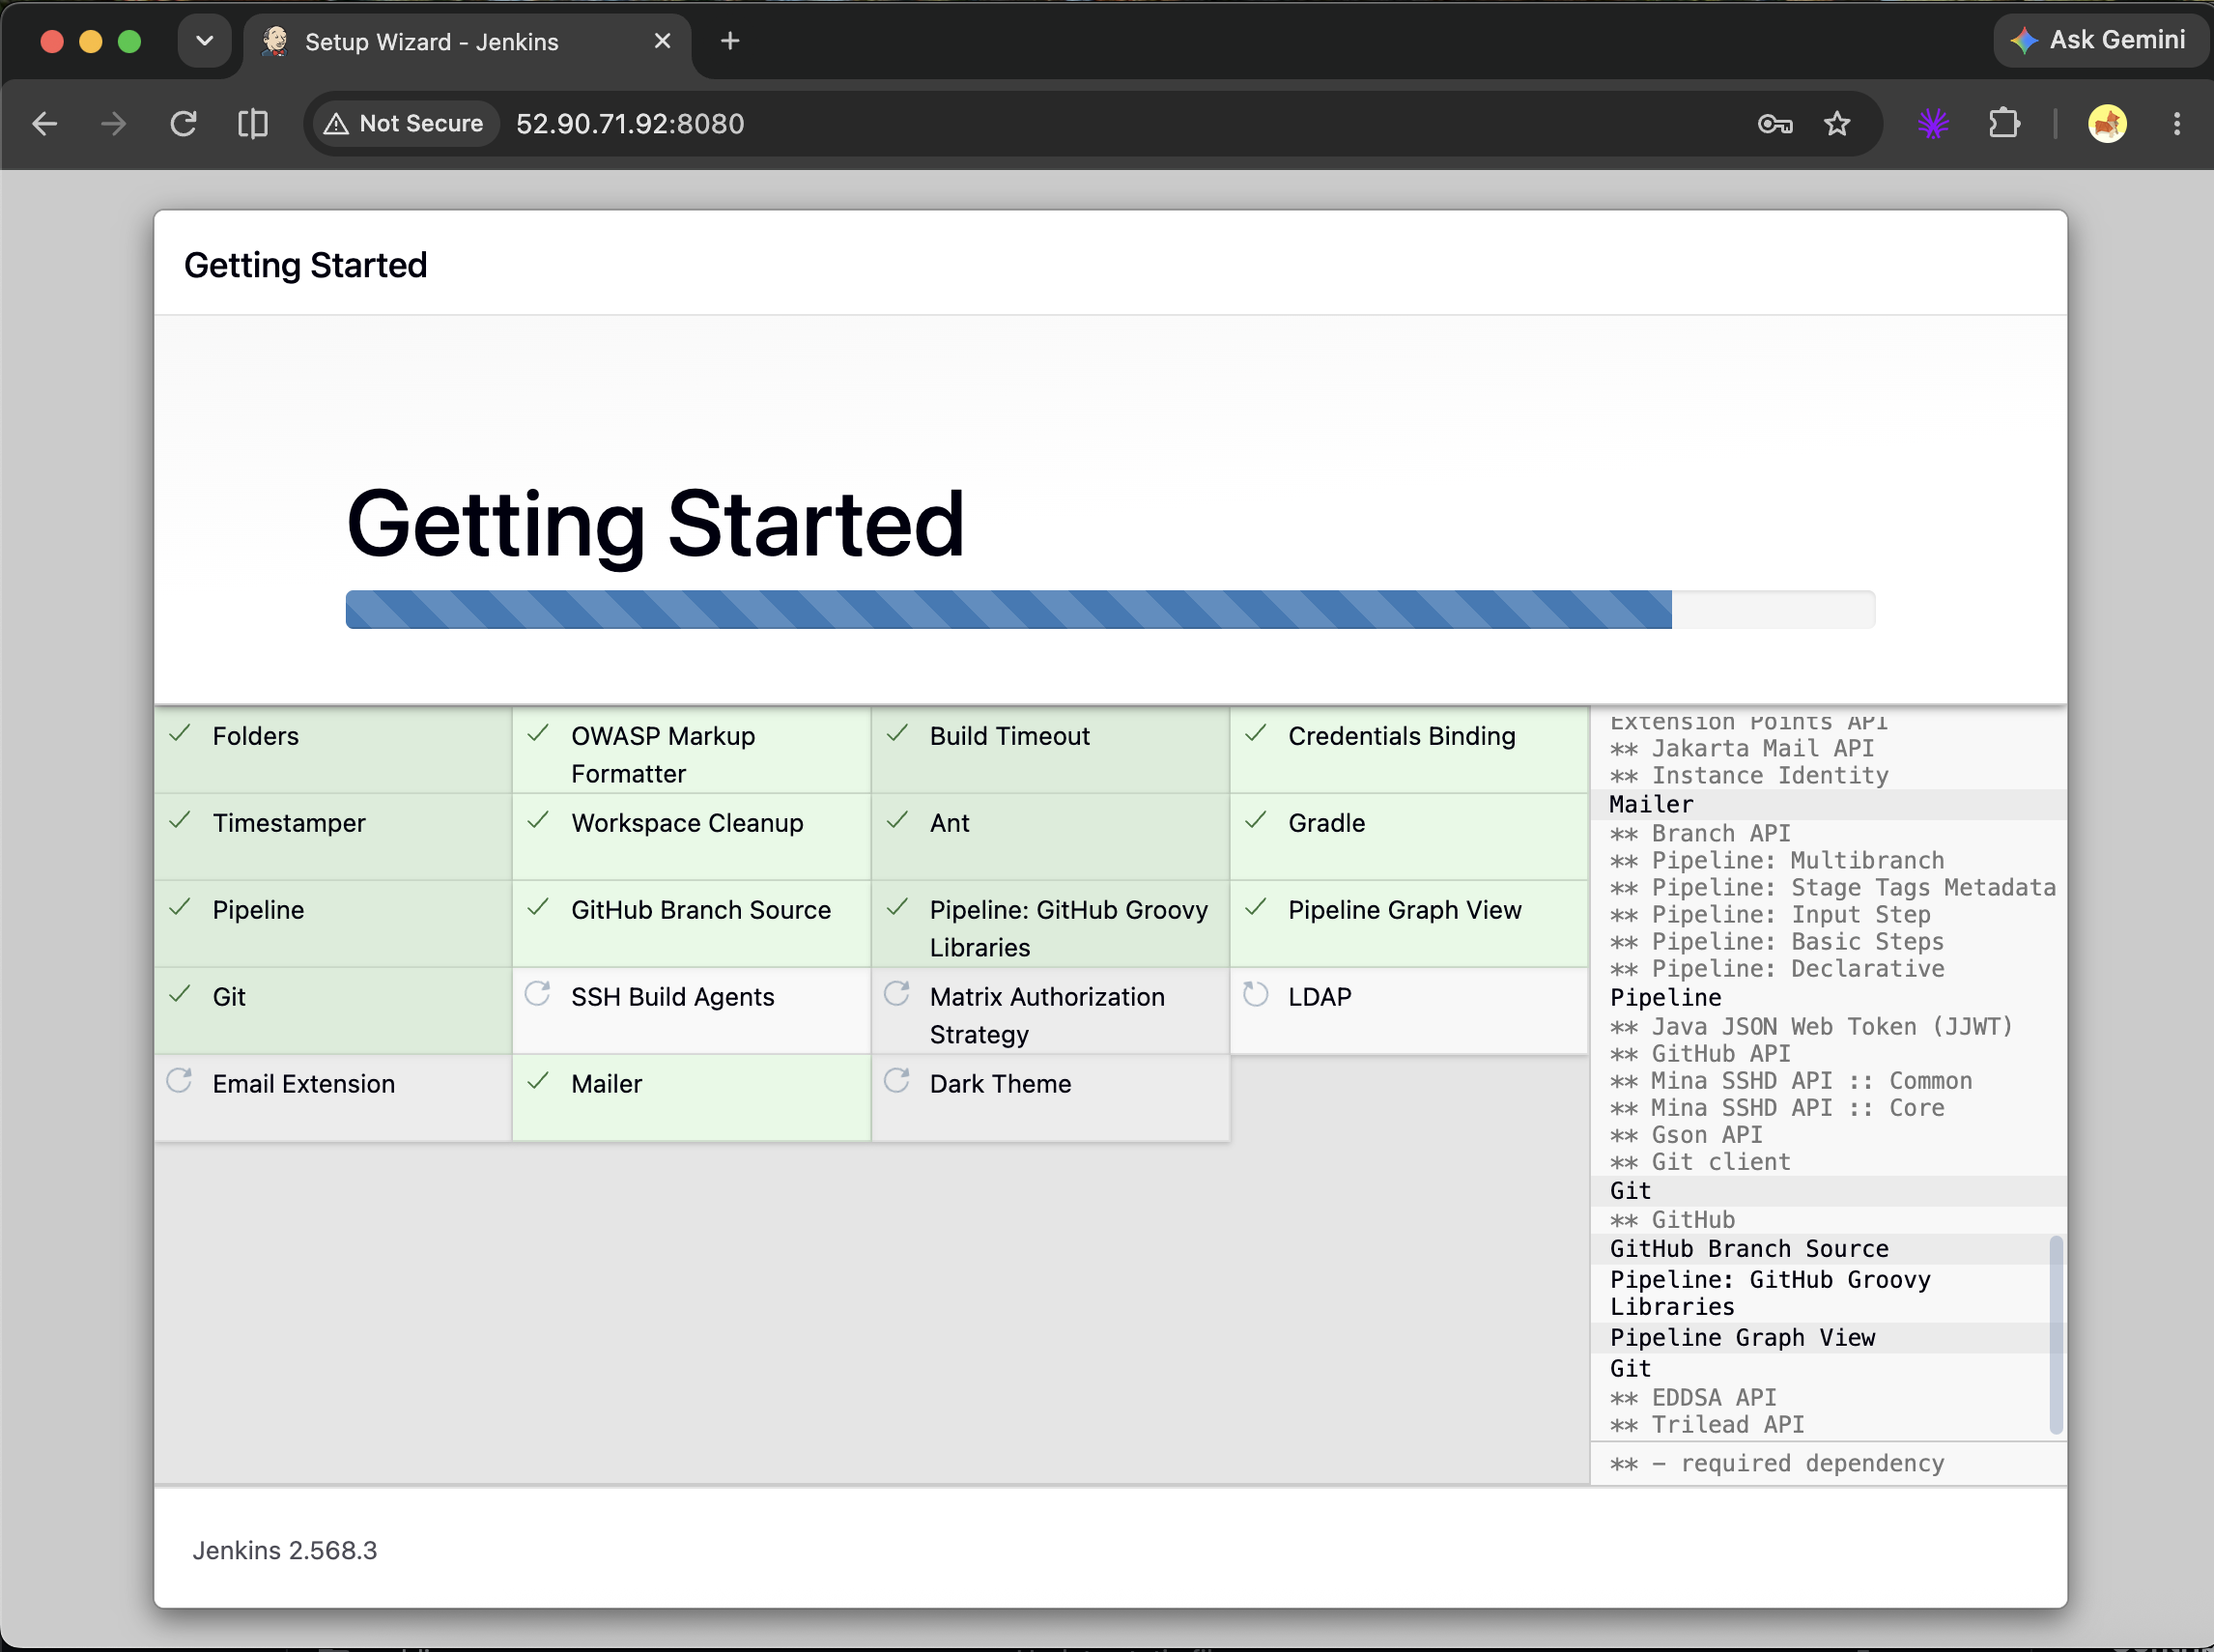
Once this is done Start!
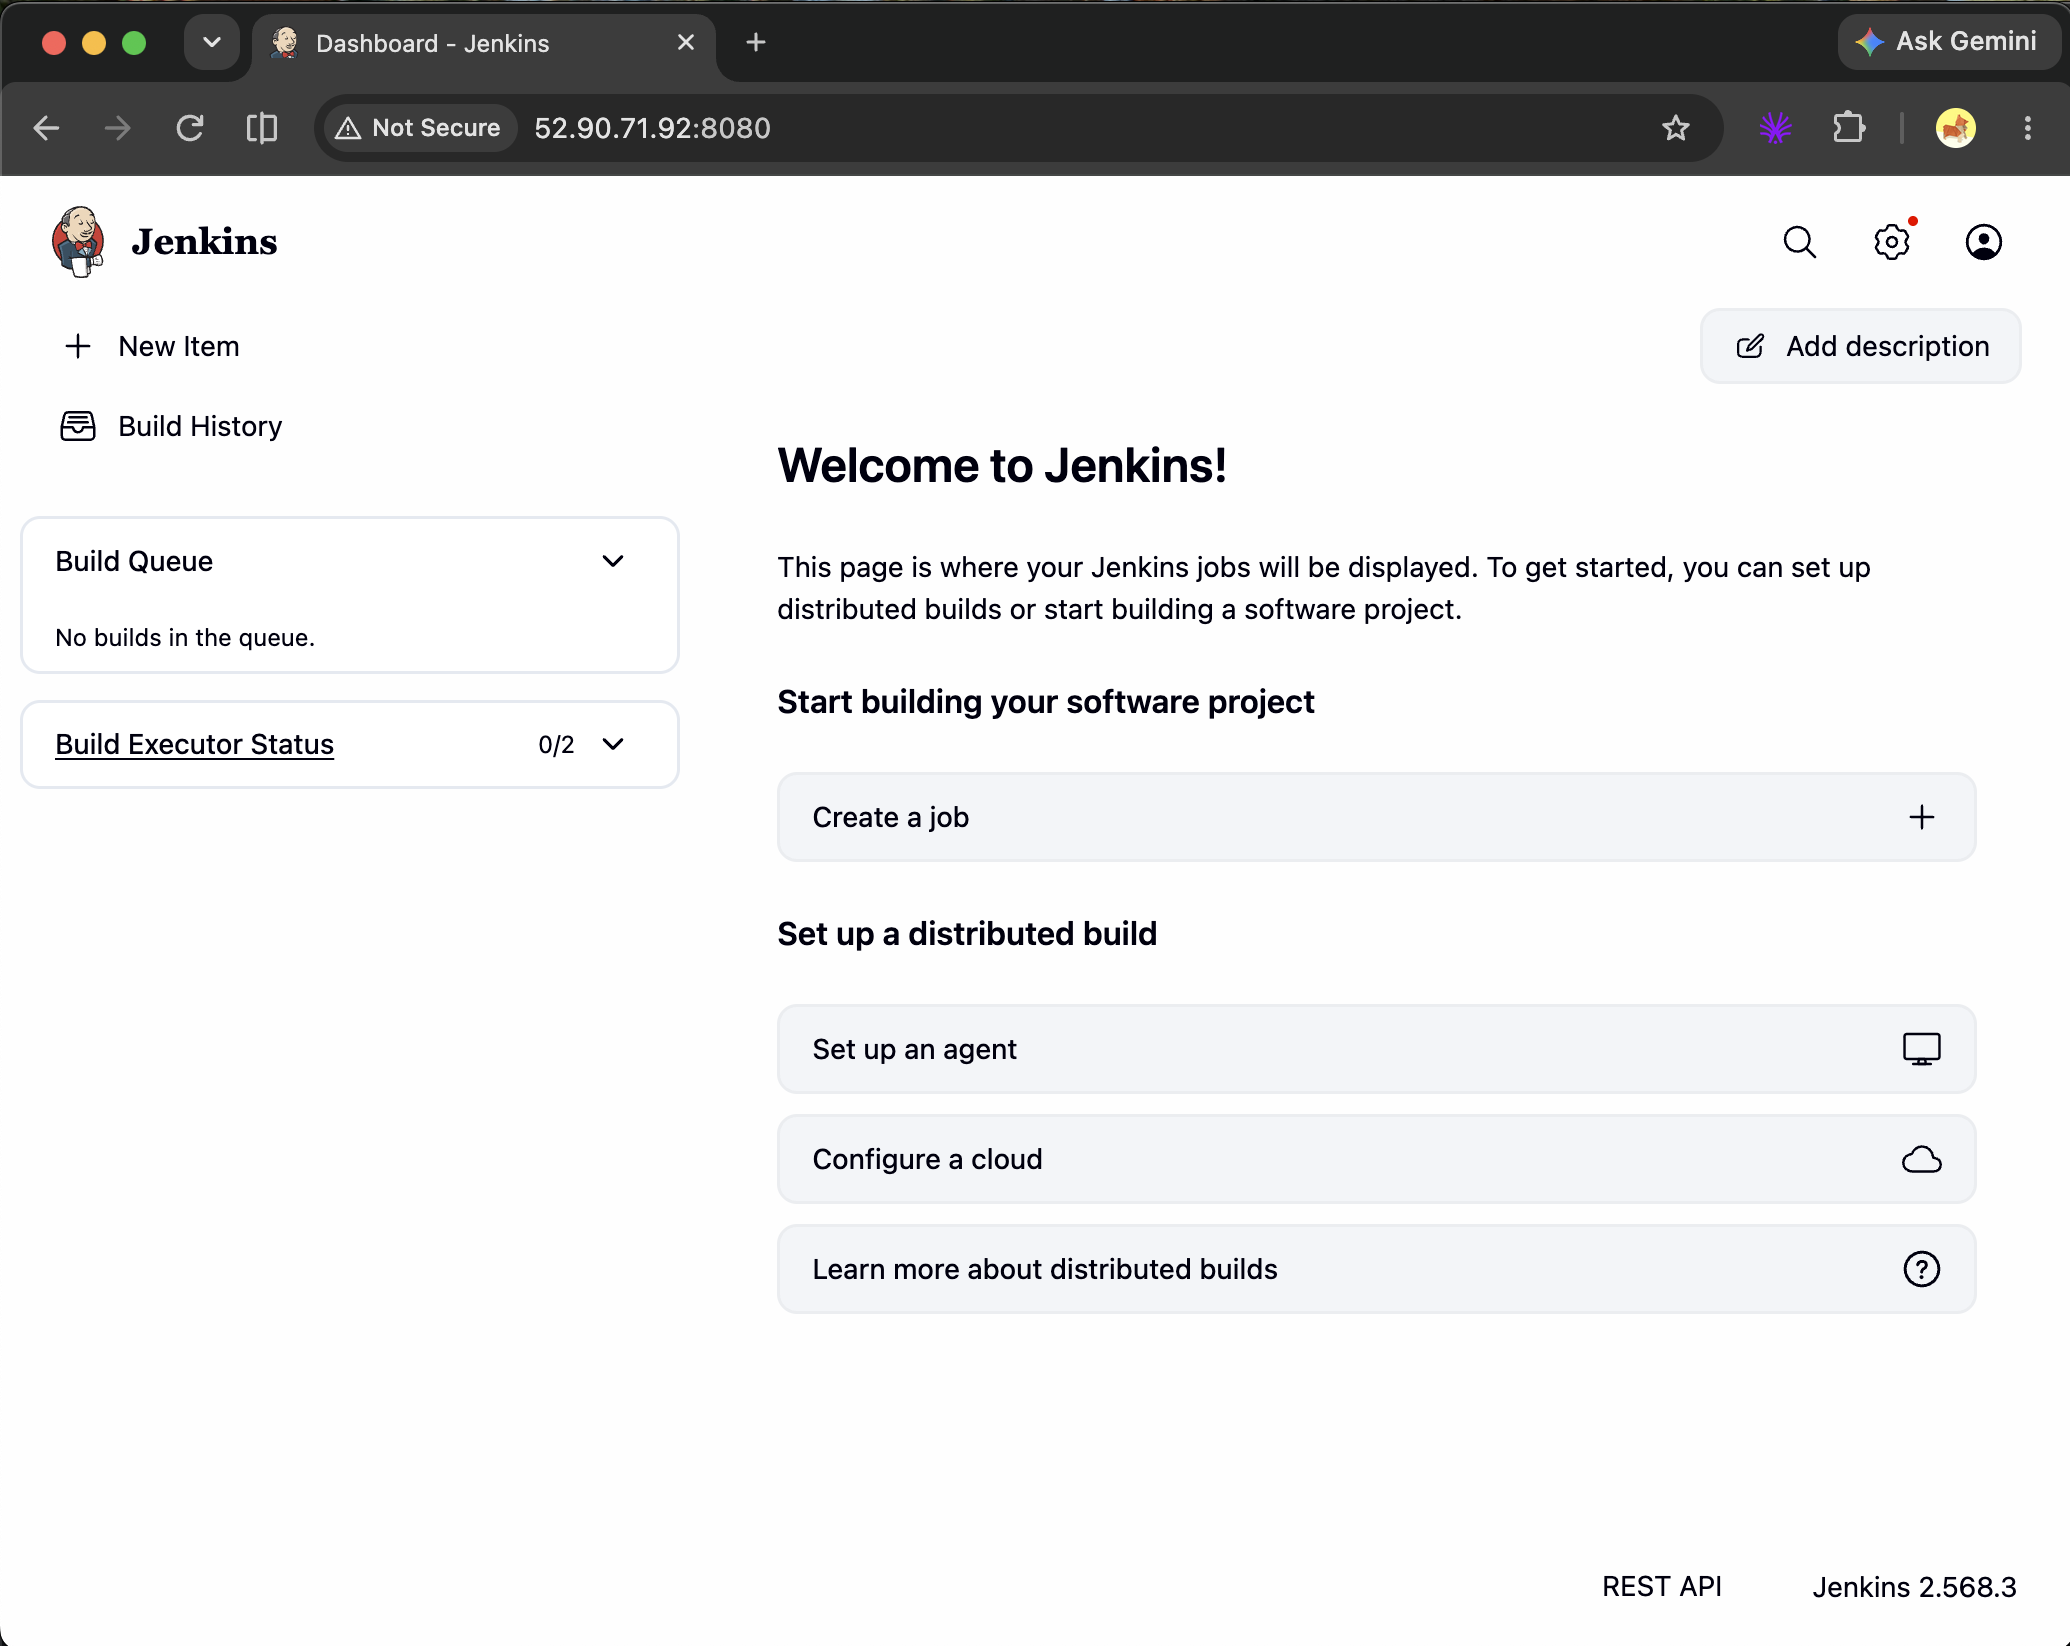
The remaining steps includes but not limited to:
Installing tools needed for job builds
Setting some Credentials to authenticate jenkins with the SCM (Source Code Management tool) where the Jenkinsfile is stored
Installing more plugins to the jenkins server
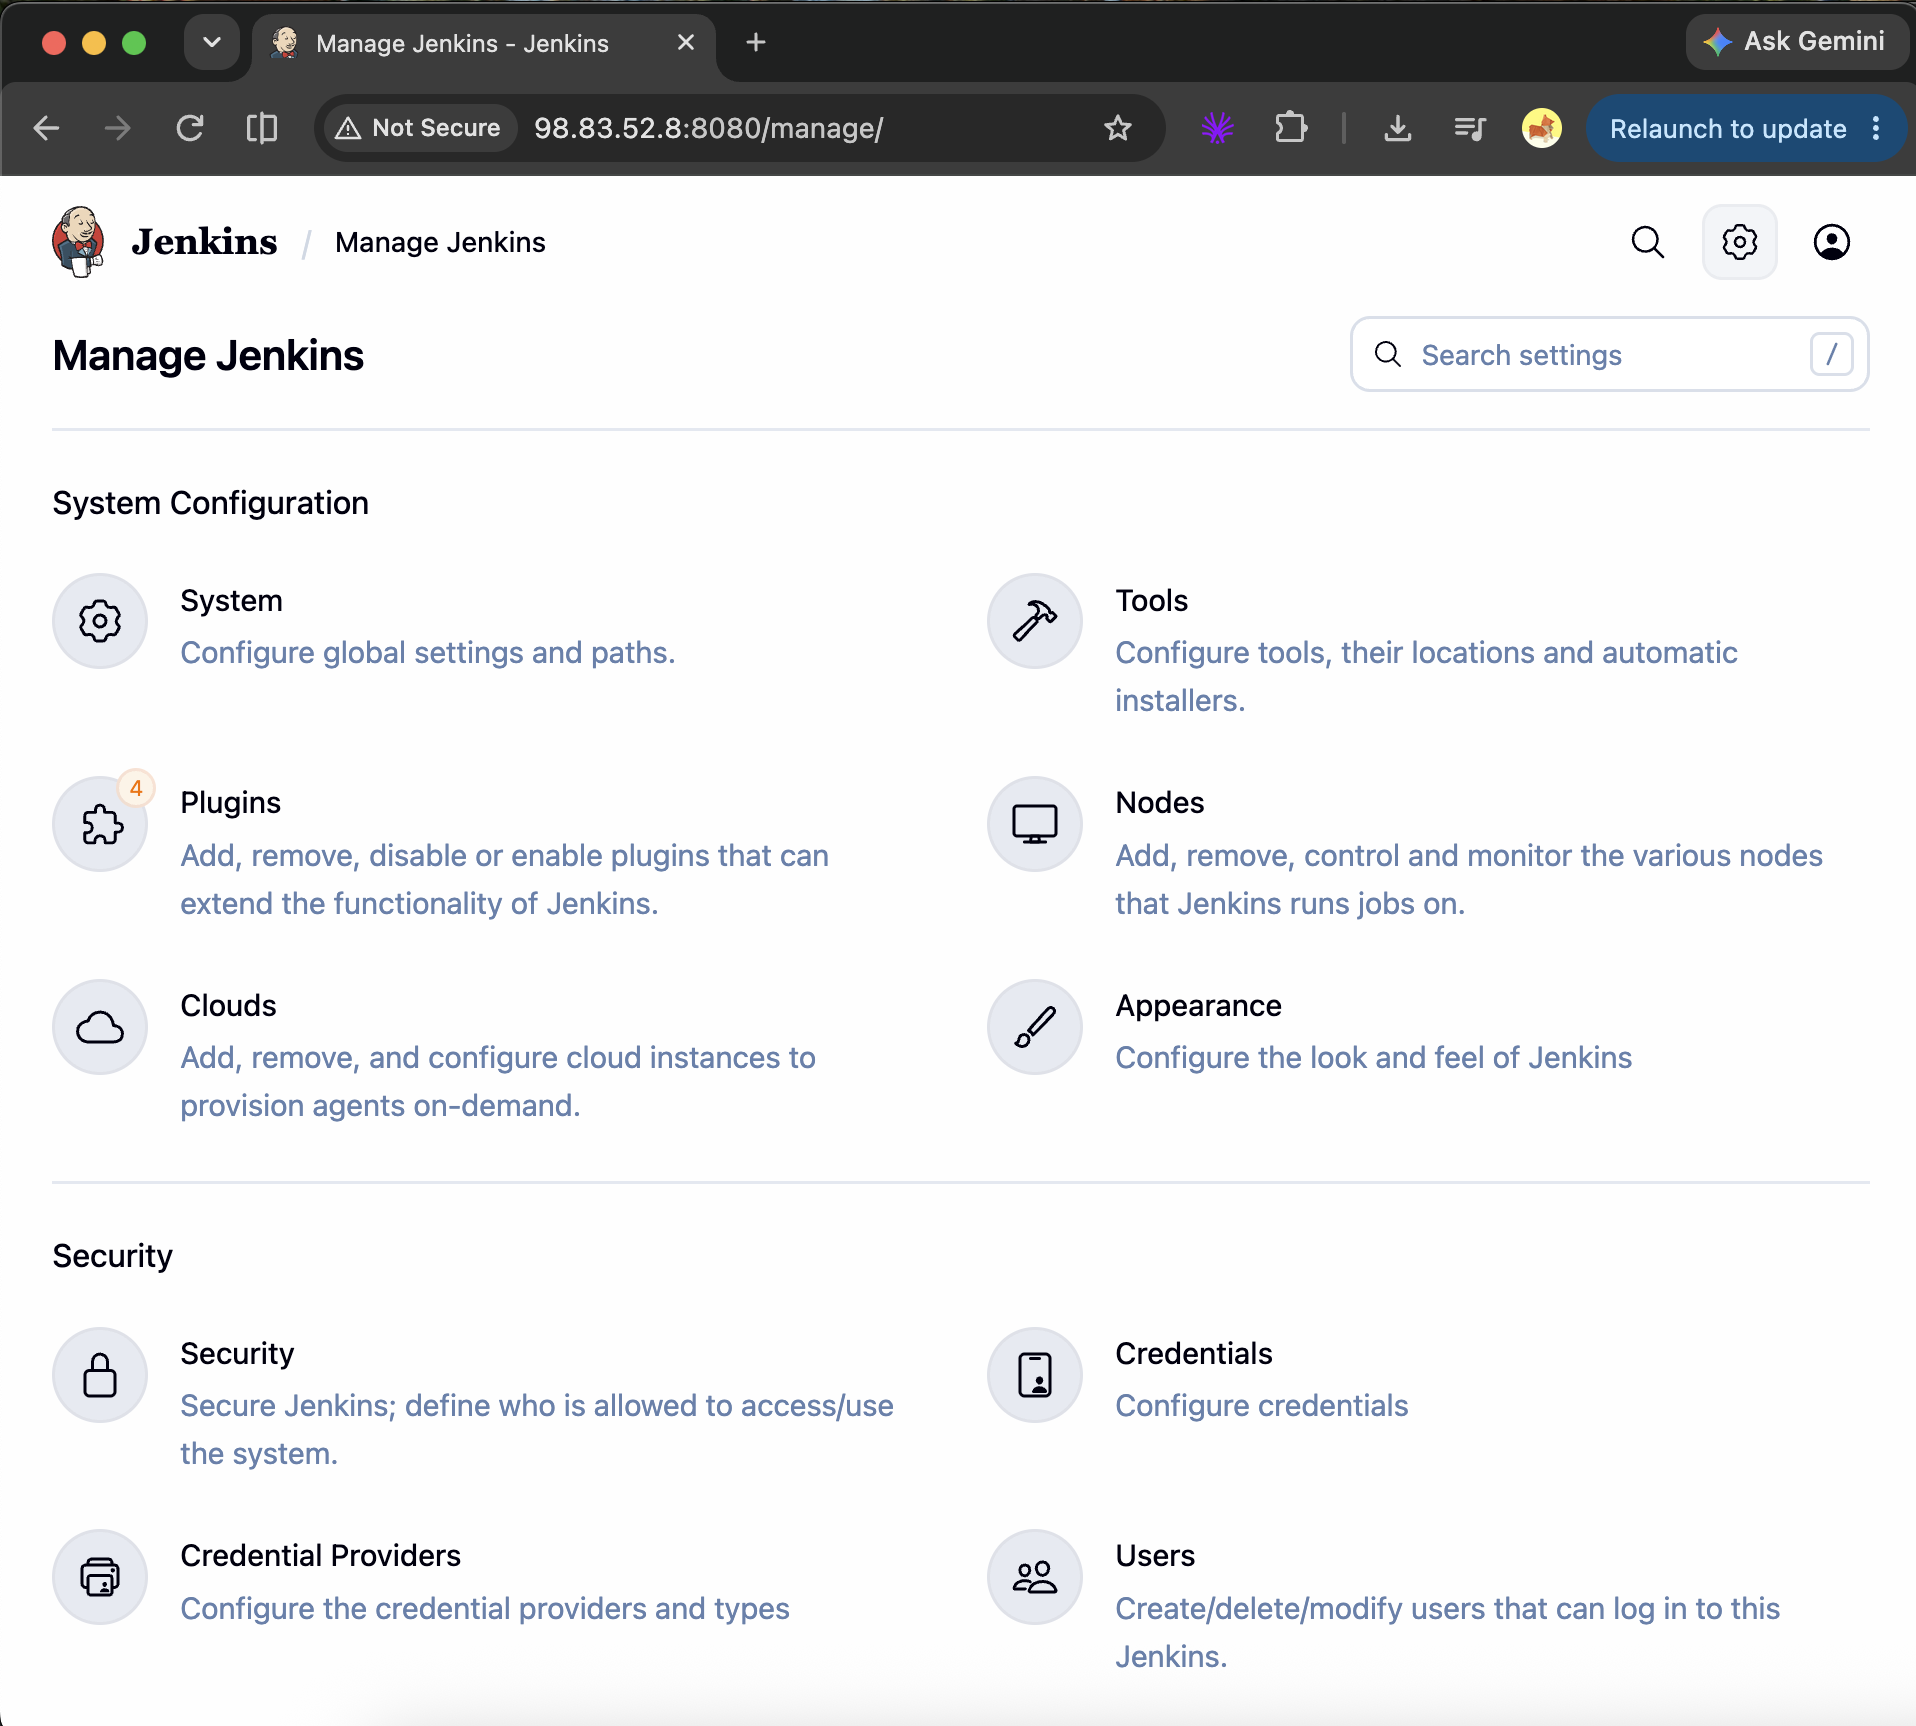
Jenkins is highly extensible through its large plugin ecosystem, allowing it to connect with tools such as Git, Docker, Kubernetes, AWS, Terraform, and various testing and security tools. One of its most common applications is CI/CD, where Jenkins can be configured with pipelines to automatically retrieve code from a repository, build the application, run tests and quality checks, package the application, and deploy it to the target environment.
For anyone who haven't worked with Jenkins, this hands-on Demo gives you a clear understanding of the individual steps. I can take the same steps in this hands on and automate it with Ansible to make the Jenkins setup repeatable and automated. Ansible is a common devops tool for this.
I hope you enjoyed this.